After the War of the Neopets Obelisk Plot (Y15), the Battlegrounds opened up once again for continuous warring called skirmish battles. Fighting for control of the Obelisk and its boons (prizes and special abilities), the six factions from the plot battle every two weeks and need your help! A timer that keeps track of the current affairs of the Obelisk can always be accessed at the Battlegrounds.

Signing Up to Battle at the Battleground of the Obelisk
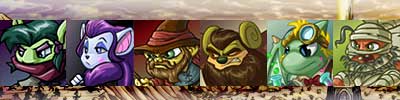
Every other Monday, three of the six factions will be up for skirmish battles: The Awakened, Brute Squad, Order of the Red Erisim, Thieves Guild, Seekers, and/or The Sway. (The previous week’s winner will be excluded from participating.) Users have 3 days to pledge allegiance to a faction for which they will fight, and then an additional 4 days to battle the enemies of the opposing factions.
It is generally agreed upon that the team that wins the most battles overall will win for the week. Most weeks, conversations between users in the Games Chat, Battledome Chat, and Guilds Chat (specifically Battledome- and Obelisk-related guilds) come to a consensus as to which faction they will all choose for the week to nearly ensure that a chosen faction will win. While it can never be guaranteed, it is highly recommended visiting these Neoboards during the sign-up period if you are missing Obelisk avatars and still need to collect them; otherwise, users with the avatars tend to choose the faction of which they like the boons.
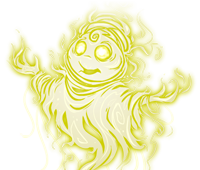
 This avatar — and five others — could be yours! Choose wisely!
Battling at the Neopets Obelisk
Again, users have the rest of the week post-sign up to participate. Users must win at least 10 battles in order to be eligible for the winning prizes at the end of the week. This means that even if your faction wins, you will receive no access to the boons if you did not individually win 10 battles or more.
There are ten opponents from the warring factions that are presented at a range of difficulties, the lowest being 8-12 HP and the highest being 225-450 HP. The difficulty does not factor into the winning number of battles needed to qualify to for the prizes, meaning users can win 10+ battles against any opposing faction enemy. The easiest opponents are so weak that even a newborn Neopet with a single weapon can win against them, so everyone can participate even without owning a BD pet. For very specific details on each potential faction enemy, you can visit JellyNeo’s In-Depth Battlepedia.
The more battles that are won within a faction, the better the likelihood that faction will win in the end. While teamwork is very important, individually lodging as many battles as possible is the most basic strategy users can use to help their respective factions.
Battleground of the Obelisk Boons
At the end of the week, a winning faction is announced. The participants in the winning faction are given the Oracle’s Blessing, the ability to choose a boon, and an avatar and site theme if they do not already have them for that specific faction. To get the avatar and site theme, just go to the Battlegrounds homepage once the battling period has ended. After the skirmish battles end, winners can choose a boon that will last for one week until sign-ups begin for the next war. Boons offer a special ability that can be used throughout the site, ranging from increased bank interest to extra spins on the various wheels. Each faction has boons specific to them, so if you have already won all of the avatars and site themes, choosing a faction that has a boon you particularly like is encouraged. There are also two Premium boons for Premium users that can be chosen alongside a faction’s boon. To learn about the many boons, you can visit the Daily Neopets Boons guide.
Battleground of the Obelisk Predictions
Predicting the outcome of the Battleground of the Obelisk can be challenging but rewarding for those who engage with this feature regularly. Each week, factions compete for dominance, and players must choose which group to align with. Understanding how to make educated predictions can significantly improve your chances of benefiting from faction victories and earning exclusive prizes or boons.
One strategy involves analyzing the faction’s past performance. Factions like the Thieves Guild or Order of the Red Erism tend to perform well when highly active players align with them. Keep an eye on forums, fan sites, or even Neopets guild discussions, where predictions and popular choices for the week are often shared. Some factions are known for their underdog appeal, which can occasionally lead to surprise victories, so balancing trends with gut instincts can sometimes pay off.
Another factor is the current popularity of factions. If a faction garners a large number of players, it might have an edge, especially in less skill-dependent matchups. However, popularity doesn’t always guarantee victory, as the outcomes are influenced by both participation and performance. Keeping track of when a faction last won can also help. Factions that have gone several rounds without a win may be due for a resurgence, making them a potentially strategic choice.
While there’s no guaranteed way to predict the outcome, staying informed and active in the Neopian community is your best bet. Joining discussions or using tracking tools on fan sites can improve your ability to anticipate which faction might come out on top.
Battleground of the Neopets Obelisk Points
Battleground of the Obelisk Points is the system that determines your contribution to your chosen faction. Accumulating points is vital, as it directly impacts the faction’s success and your personal rewards. Points are earned through various activities, such as battling in the Battledome, participating in site events, or completing specific tasks during the week-long skirmish.
Maximizing your points requires a strategic approach. For Battledome activities, using high-level Neopets with well-trained stats and equipped with powerful weapons increases your likelihood of winning battles and scoring higher contributions. If you’re new to the Battledome, focus on weaker challengers to secure easier wins. Even small victories accumulate points and help your faction.

Additionally, some factions provide exclusive tasks that grant points, such as gathering items or completing puzzles. These are usually outlined at the start of the skirmish. Keep track of these tasks to ensure you’re contributing effectively. Many players also recommend checking your contributions on a daily basis to make sure you’re on pace with other faction members.
Ultimately, earning points not only helps your faction but also boosts your standing for personal rewards. High contributors often receive better prizes, making it worthwhile to put in extra effort during the skirmish.
Battleground of the Obelisk Scoring
Scoring in the Battleground of the Obelisk is how your performance and contribution are measured against others in your faction and across the event. The system takes into account the number of points you’ve earned and ranks participants accordingly. Scoring well not only improves your faction’s chance of winning but also increases your eligibility for top-tier rewards.
The scoring system prioritizes consistent participation over raw power. This means that while elite players with strong Neopets and high-tier equipment will naturally score higher in battles, casual players can still make a meaningful impact by engaging regularly. Participating in as many battles as possible and completing faction-specific tasks is key to climbing the ranks.
Faction victories often depend on the cumulative score of their members, so even small contributions add up. Your personal score also determines the quality of rewards you receive at the end of the event. Players with higher scores are more likely to unlock rare items, exclusive avatars, or coveted boons, which can grant powerful advantages like increased Neopoints from games or discounts on training.
For competitive players aiming to excel in scoring, tracking your daily performance and comparing it with others in your faction can provide insights on how to improve. Using premium Neopets tools or guides to optimize your gameplay during the event can give you an edge, helping you secure a top spot in the rankings.


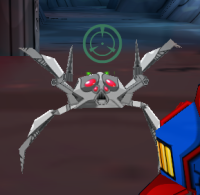
 = 25 points
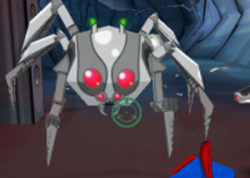
  = 50 points
 = 50 points
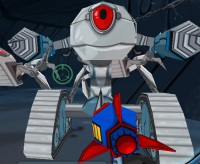
  = 75 points
 = 50 points
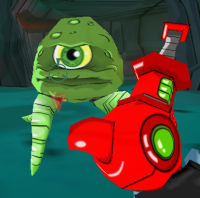
  = 100 points


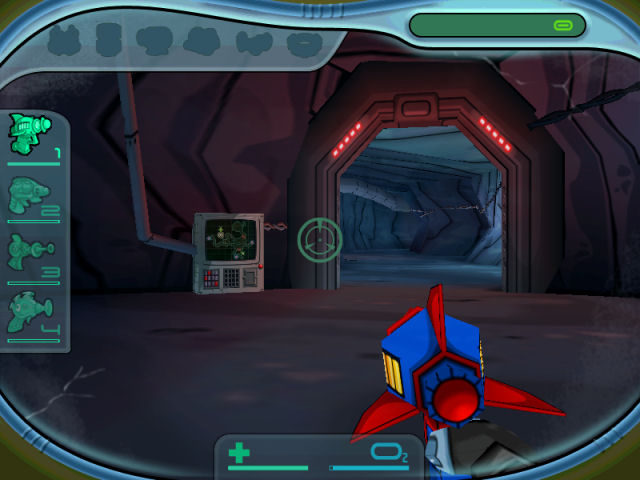
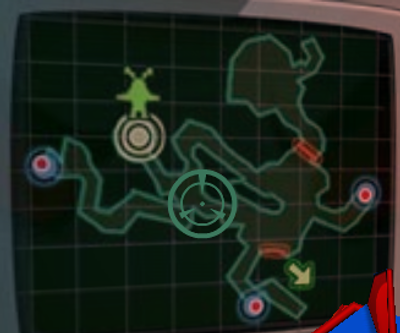
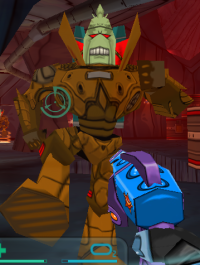
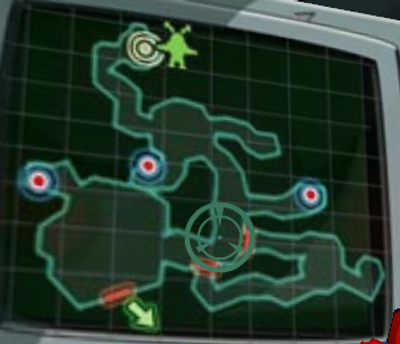 Go to the first switch and then for extra challenges go to the second switch before you go to the check point.
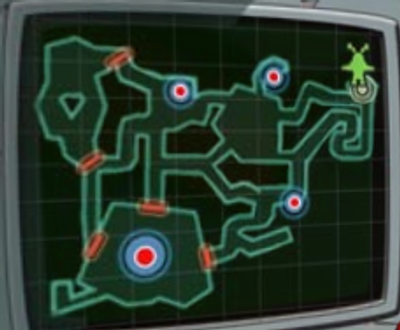
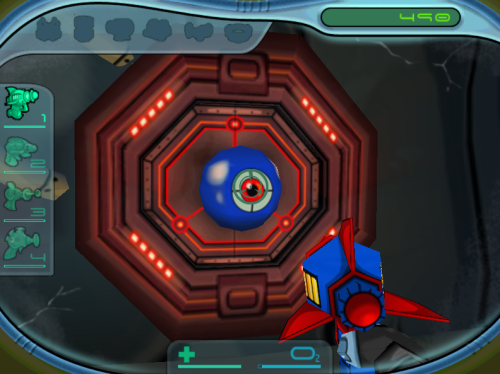
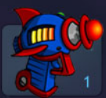 The Bzzt Blaster, the only good thing about this weapon is the no need for ammunition but that is it. It cannot kill the tougher baddies quickly and sometimes you need that. Use the other weapons that will be listed instead.
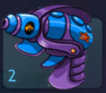 The Virtublaster 3000. You need to be able to aim to use this weapon at times (especially with small targets) but it can deal an incredible punch. Hold down your shot for a few seconds and see what this bad boy can do. If you can get a group of bad guys lined up in front of you then do this trick then you wont see them for much longer.
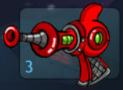 This is the Goo Blaster. Just imagine if you are hit by a pile of goo, you too would be stunned! This is the best weapon in the game. Destroying enemies with one shot or weaken them considerably. The down side to this gun is that it will eat away at your ammo. Sometimes combining this one with the Bzzt Blaster will help you limit the amount of unnecessary shots from this gun.
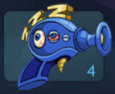 Last but not least the Sleep Ray. In a way this gun will save your neck last on in the harder parts of the game but it is worse with its ammo than the Goo Blaster so do not use it all the time. When you do hit the enemies with this gun you can change to another one to destroy them as sleeping bad guys are easier to destroy.